Resin Jewellery Class # 2
My first class for the Resin Jewellery and Sculpture course I was taking had passed rather uneventfully last week. Today's class however, proved to be quite a fair bit more exciting since I actually got to work with the resin material itself and could finally start on creating the bracelets I'd cast in moulds last week. Here's a blow-by-blow account of today's class!
Step 1 - Releasing the Rubber Moulds
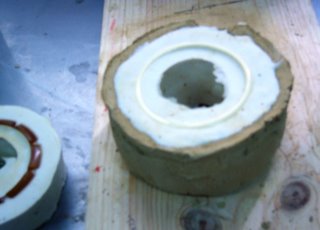
The item, e.g. a bangle, which you wish to cast in resin needs first be cast in a rubber mould. To do so, one has to form a clay "container" (i.e. there is a layer of clay underneath the bangle and a wall of clay 10mm around) to contain the rubber which will be poured in a thin stream until it surrounds and covers the bangle.
On the right is one bangle that I cast, which is still contained by the clay. On the left is another bangle in its rubber mould, free and clean of clay. To get from one to the other involves using heavy wooden rolling pins to bash the clay apart amidst lots of dust from all that bashing. A final wash and dry and the mould is ready for use.
Step 2 - Mixing up the Resin mixture
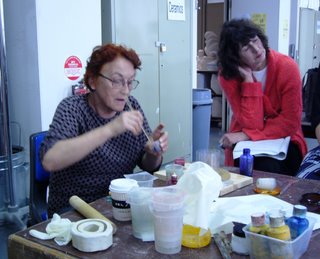 Viliama, our instructor, begins by measuring 3 parts of the resin mixture to 1 part of the reacting agent and stirs clockwise to ensure that everything is thoroughly mixed. Do so slowly so as not to form air bubbles within the mixture as you will have to wait till these bubbles rise to the surface and disappear before using the mixture.
Step 3 - Mix up the colours you want
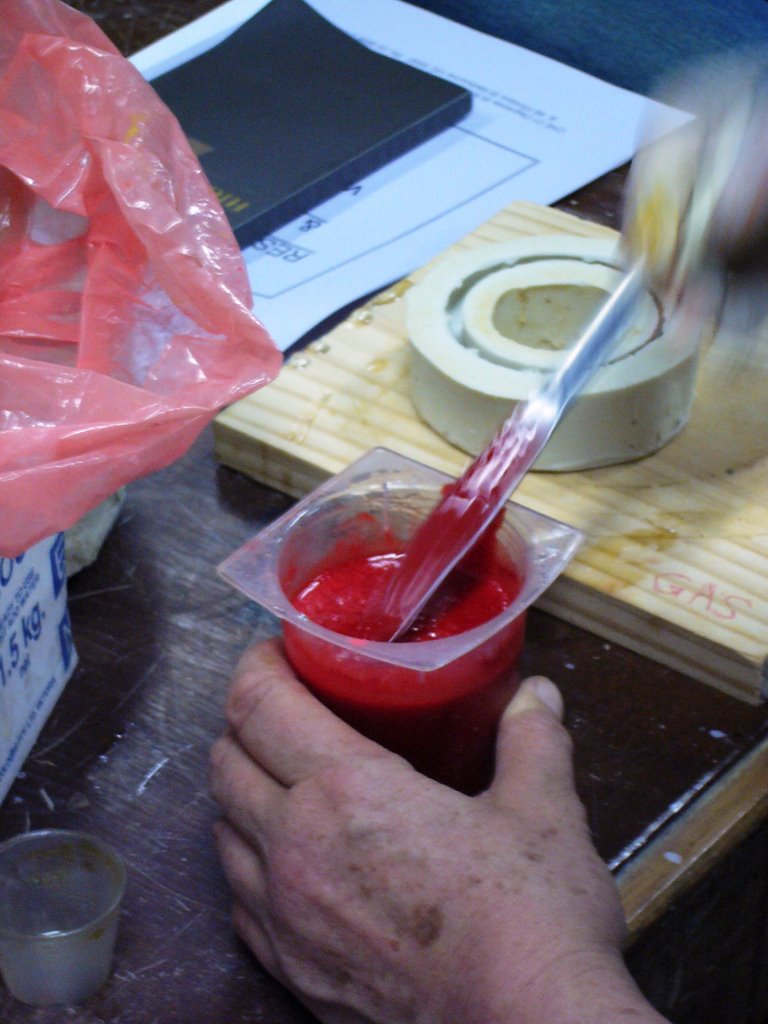
We learn how to mix colours (both clear and opaque) and what types of pigments are suitable for colouring the resin mixture. No-nos are things like food dye or any type of liquid paints (unless denser than the resin mixture); surprisingly, items like paprika, tumeric and dried pigments for paints work really well in turning out a great colour. Above is the fire-engine red mixture I used for one of my bangles, which used red paint pigment we took from the painting class.
Step 4 - Pour into desired moulds
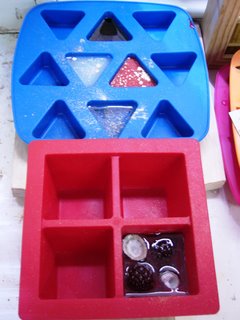
I also discover that the ice-cube rubber moulds from Ikea would also work well to contain any resin mixture! Here are just some of the resin items I will unearth next week, including the first item I started (intended to be in a sort of triptych of 3 freestanding pieces) containing memories from my recent trip down the Great Ocean Road).
Step 5 - Take a break with friends from class!

Having cast all the items we had planned for, we finish class on time today and a couple of us decide to head off for lunch at one of the funky cafes on Degraves Street before we go our separate ways. Here are 2 of my very artistically-inclined classmates, Edit (who teaches textiles and works with knits and basketry) and Jimmy (who is a graphic designer) and the wall of graffitti at Degraves Street (very common in Melbourne's little lanes in the CBD and definitely encouraged by the authorities!).
Labels: Other activities
posted by M @ 5:54 pm
![]()

0 Comments:
Post a Comment
<< Home